Build your own Ally Keys device
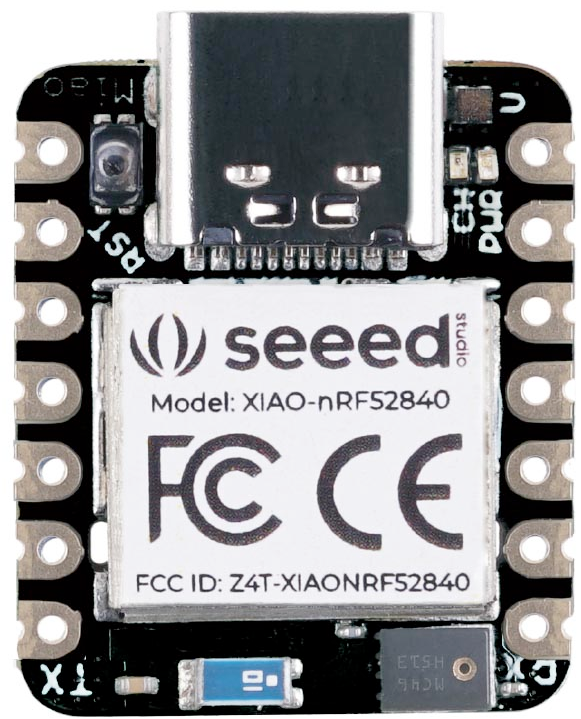
Seeed XIAO nRF52840
-
Purchase a Seeed XIAO
nRF52840 device, you do not need the "sense" version although that will work.
-
Download the Firmware file to a folder
(e.g. Downloads/Ally_Keys/ally_keys_0_0_1_beta.ino.zip)
-
Download the Update script (MAC only) to the same folder
(e.g. Downloads/Ally_Keys/update.sh)
-
Plug in the Seeed XIAO
nRF52840 to your computer
-
Open a terminal to where the firmware file and script are
-
Run the script:
./update.sh (you may need to mark it as executable:
chmod +x update.sh)
-
You will be shown a list of connected devices, with indexes, choose the index that most looks like
/dev/cu.usbmodem101 - for example, mine looks like this:
[0]: /dev/cu.Bluetooth-Incoming-Port
[1]: /dev/cu.Headphones
[2]: /dev/cu.usbmodem101
In the example above, you would press "2" and press enter. If there are many devices like this and you
are unsure, follow the troubleshooting instructions below.
-
You should eventually see a bunch of "#" symbols - that means it's uploading the firmware
-
Unplug the device and then navigate to the ally keys
page and see if it works!


